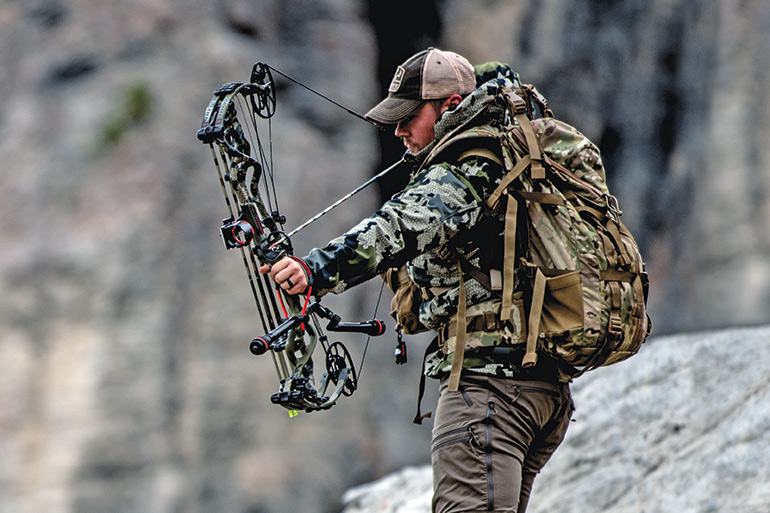
The Best Stabilizer Setups for Bowhunting
Minimizing pin movement while aiming is critical to success, whether you’re punching paper or the vitals on a big buck.

The other day, I was at the range shooting 3-D targets with some friends. I brought my normal hunting rig with a fairly short stabilizer. When I partake in target or 3-D shooting, I typically add a 10 or 12-inch field stabilizer — and sometimes a side/back bar to the bow’s riser — to steady my aim, and my nerves, for improved consistency.
However, since mule deer season was only a couple weeks away, I decided to leave my short hunting stabilizer on the bow and began shooting. The idea was to keep my bow light and compact for long hikes in the mountains.
Fortunately, I shot fairly well that day, despite the sometimes-irritating sight movement. At home, my bow seemed to hold pretty well, but when shooting 3-D and feeling the effects of shooting pressure while in the presence of a small crowd, my sight pin was dancing wildly at times, particularly on those longer-than-normal shots. It took more time to control the sight pin and to stay focused on the mechanics of the shot. The entire experience reminded me of the importance of increased bow stabilization, and how it could benefit me greatly in a hunting situation.
How Stabilization Works
Effective bow stabilization does two things. First, it increases rotational inertia, so the bow is harder to move, twist, or otherwise torque during the draw and arrow-launch phase. This keeps the bow more rock-solid for improved consistency. This also allows the sight pin to settle faster, and to move in a smaller pattern on the bull’s-eye. Secondly, a quality stabilizer will come with some sort of dampening system or coupler, which squelches residual shot vibration and noise, allowing for smoother, more comfortable and consistent shooting.
A standard stabilizer is placed at the front of the bow. This places inertia directly in line with the target. This is good. However, most modern hunting bows won’t aim well with too much weight at the front of the riser due to extreme parallel limbs and a reflexed-riser geometry. This promotes a downward-tipping setup that forces the shooter to use muscle tension to keep the sight pin from drifting out the bottom. This makes relaxed aiming and good shooting mechanics difficult to achieve.
In this case, using a back or sidebar stabilizer is what’s needed to counter the front mass weight. Depending on how this bar is set up, it can make the bow bulkier and less streamlined for hunting. However, the tradeoff will give you a sweeter-aiming setup, so you must weigh the pros and cons and decide what’s acceptable for your style of hunting.
When shooting a well-adjusted backbar setup, you’ll notice two things: The bow will balance almost all by itself, and once locked on target, the sight pin will stabilize very quickly. These are two highly desired traits at the moment of truth.
If you hunt without a bow-mounted quiver (or remove it while on stand or just prior to the shot), chances are the bow will balance fairly well from side to side, but it will still display a “top-heavy” downward twist at the grip.
In this case, the fix may be simple. By adding a short stabilizer or threaded counterweight directly below the grip on the bowstring side of the riser, you can usually correct this imbalance. I often use this type of setup, and it keeps the bow compact and streamlined while providing a solid-aiming bow when using an eight to 12-inch stabilizer. Most of today’s bows come with a threaded stabilizer mount on both sides of the riser to make this technique simple to use. If not, you may have to experiment with different stabilizer brackets that allow you to fasten weight to the rear of the riser.
Long vs. Short Stabilizers
During my bowhunting career, I’ve used all sorts of stabilizers, and I’ve noticed that models with a weight coupler fastened at the far end of the bar optimizes the bow’s resistance to rotation the best, compared to all other styles. Physics supports this theory as well.
I like to use imaginary broom handles to explain the phenomenon. Take three different broom handles: One that is completely hollow with no weight, one with weight equally distributed across the handle, and one with a hollow handle but with all the weight concentrated at the far end. The hollow handle with the weight at the end will certainly be the hardest to move in any direction. Bill Leven, owner of Doinker Stabilizers, explained this concept to me more than 15 years ago.
Also, the length at which this concentrated weight is extended outward from the bow will dictate its leverage effectiveness to resistance. This is why indoor target shooters use stabilizer bars measuring more than 30 inches long! In other words, the longer the broom handle with weight at the end, the harder it becomes to move.